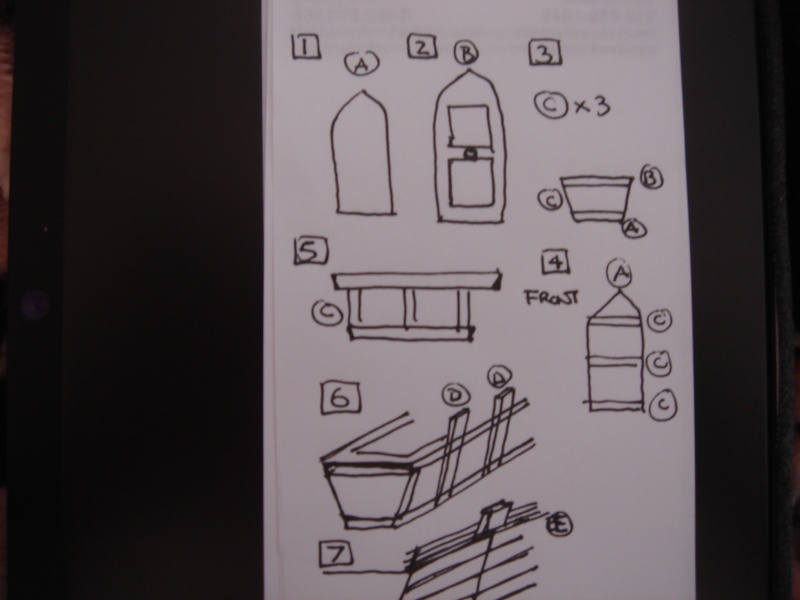
I don’t have any WIP pics but here’s a quick sketch that I’ll try to explain below

1) Cut base out of 1/4” plywood (A)
2) Cut sub-deck out of 1/4” plywood (B). (B) should be about 1/4" bigger than (A) in all directions. The two cut-outs are to allow your hand to access the areas below deck when the deck is removed. The center piece between the two cut-outs needs to be wide enough to drill a mast hole. Mine was 1” wide for 1/2" mast.
3) Cut 3x trapezoidal shaped pieces – all the same size (C)
4) Wood glue the (C) pieces to (A)
5) Shows cross section of (4)
6) Sand (A) and (B) to match angle of (C). lue popsicle sticks vertically around the whole ship (D). Spacing is about the same as the length of your sticks. Don’t need to measure – they’ll be trimmed later. Around the curved front you need more vertical sticks.
7) Glue horizontal popsicle sticks to outside. Clamp as necessary. For the front curved pieces I soaked sticks in a tub of water for a day then bent them. Curved pieces once dry definitely should be clamped. Then glue horizontal sticks between the vertical sticks (above sub-deck only). Finally glue another layer of horizontal sticks on the inside (above sub-deck only). The curved sticks in particular don’t need to be perfectly fitted but there shouldn’t be any gaps.
8 Once everything is dry trim vertical sticks with a saw. Sand whole ship especially the curved sections.
9) Deck is made from sticks glued together only with cross members on under side. Fore and aft decks built up with sticks.
10) Spray paint interior. Wood stain exterior. (I wish I had decked below deck and stained whole inside)
11) Sail is drafting film that architects use. Primed and spray painted stripes with normal spray paint. Masked pattern and sprayed. White outlines hand painted. The head on front was from GW giant box.
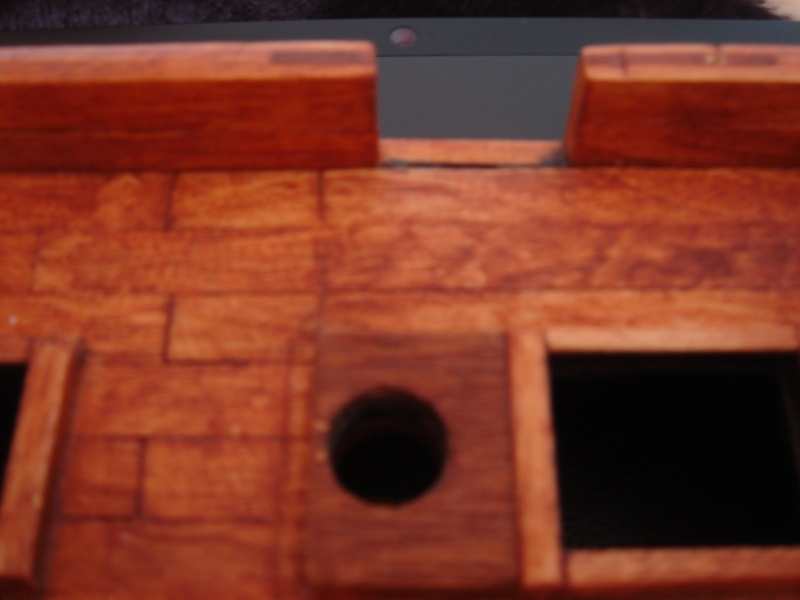
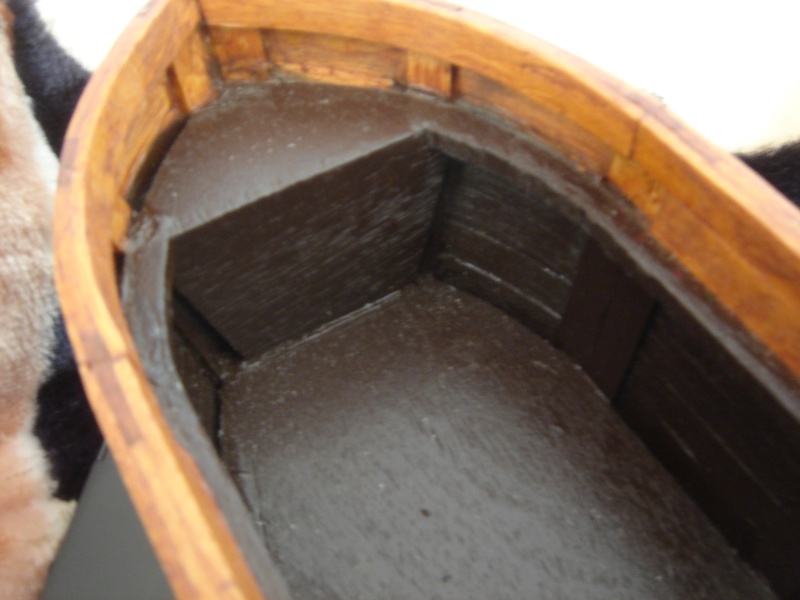
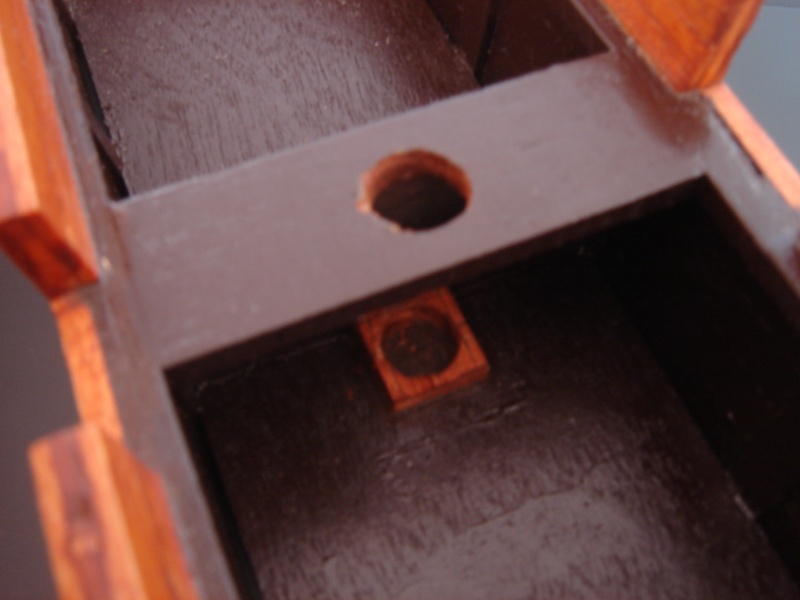
Here are 4 more photos that may help illustrate some details:
Deck with mast removed

Below deck front

Below deck center. Note the small piece of wood drilled out for bottom of mast to ensure stability when mast is in place

Deck shot (blurry) showing some of the details discussed above

Hopefully this gives you a basic idea of my approach.


