For this project you will need:
- wire cutters
- 20-gauge copper wire
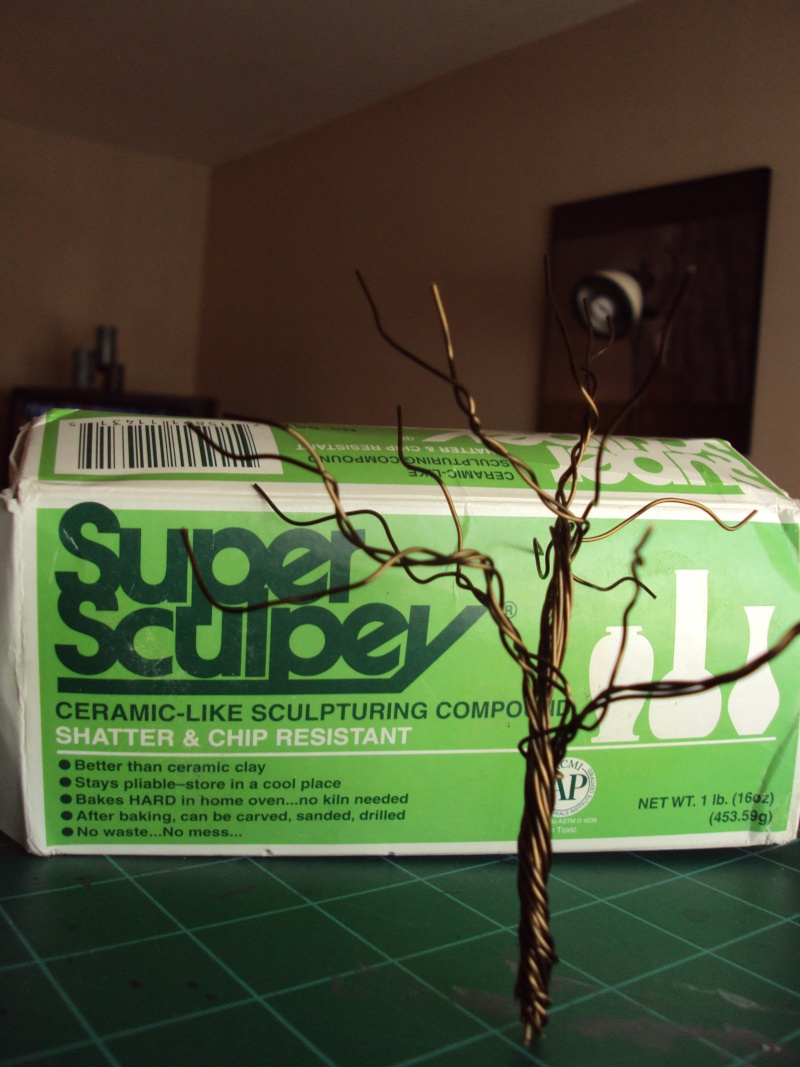
- Sculpey
- black spray paint
- a few pots of brown paint / other colors
- baking paper
- a baking tray
- a stove
- an art-student girlfriend
Everything but the Sculpey and the wire should already be lying around the house, so your
TOTAL COST IS $15 US.
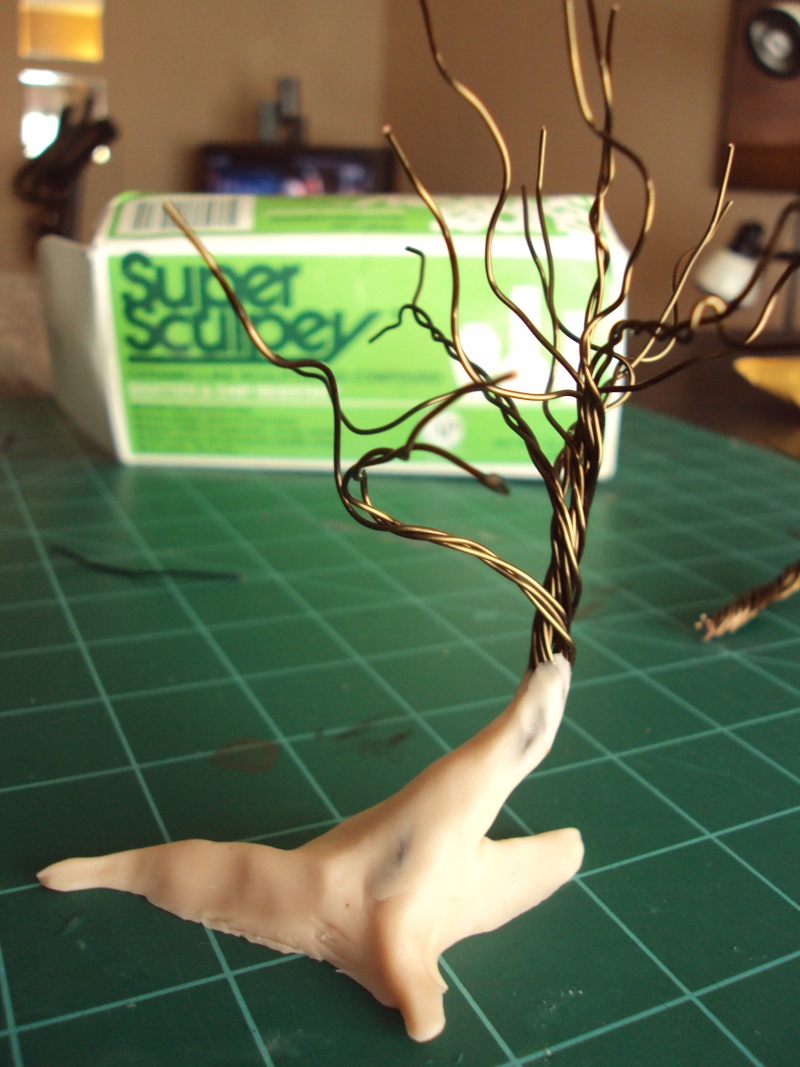
First, cut the wire into 5 inch (13 cm) lengths. It will take about 18 of these lengths to make a decently sized tree. It was easier for me to work with the wire by twisting three strands together at a time, giving me six three-strand cables. I then twisted these into a tree shape. The wire should be pliable enough for manly-types to just use their hands:
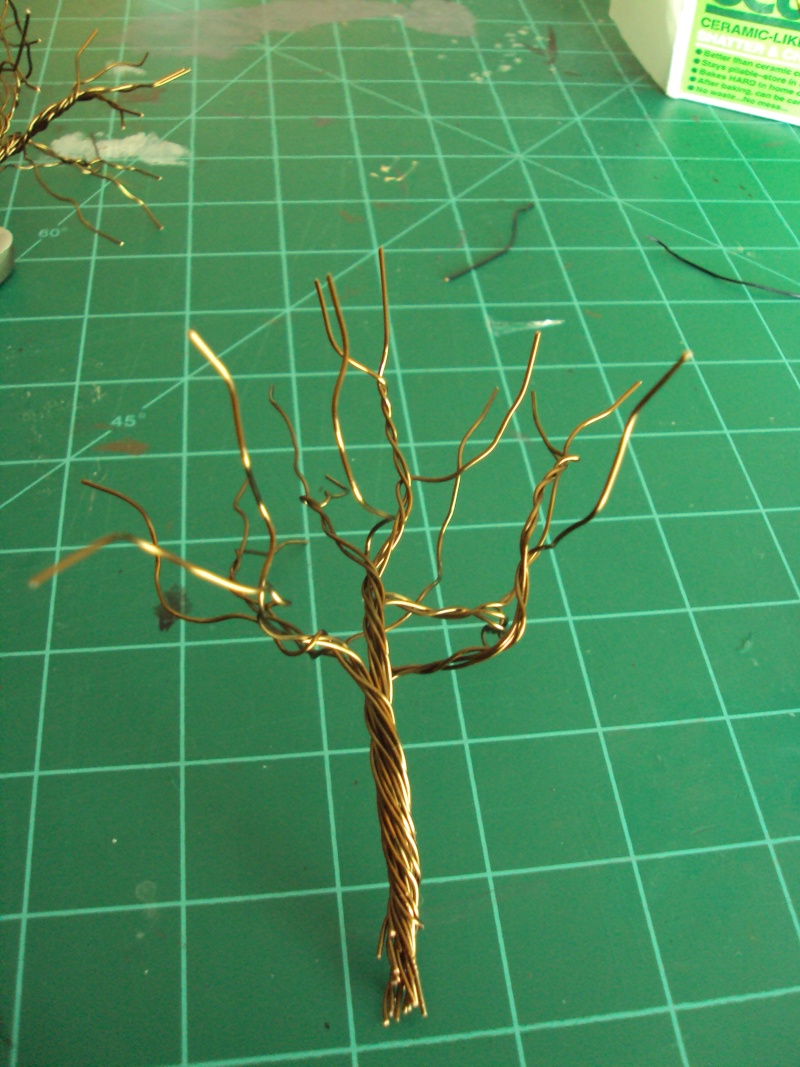
When making your branches, remember to add lots of little kinks and twists. You get a much more realistic result.
Next you'll create your roots and trunk. This part requires a bit of skill - apply art-student girlfriend as necessary.
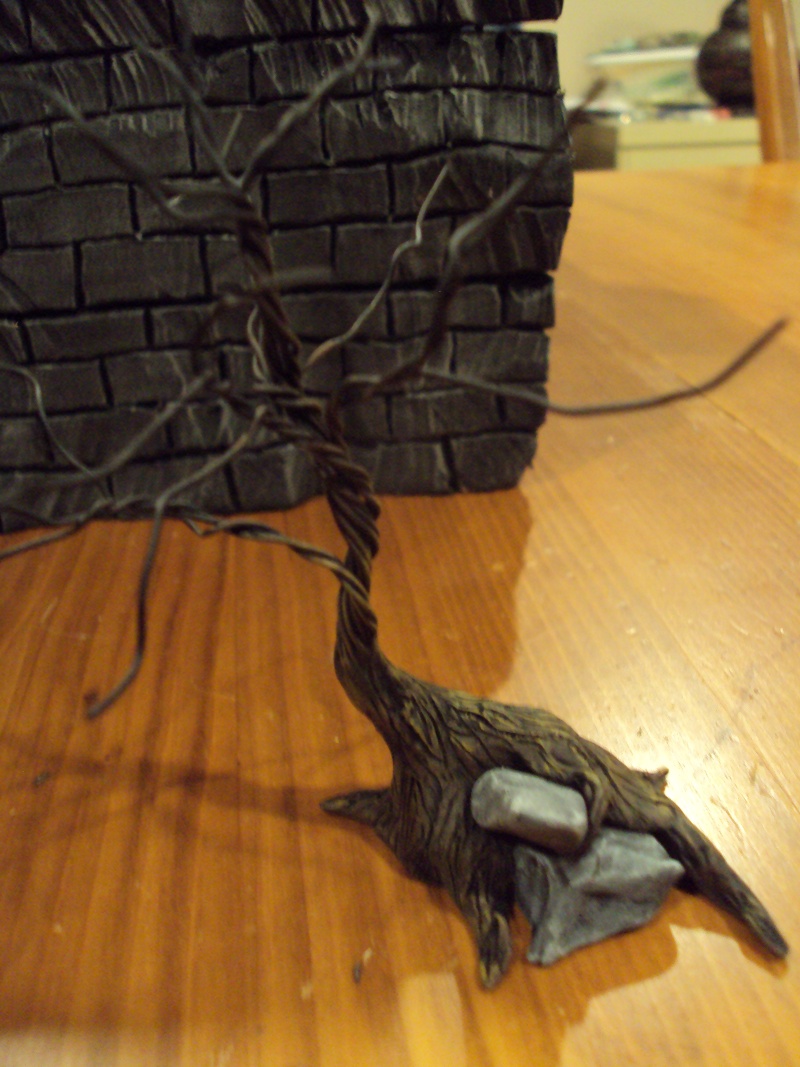
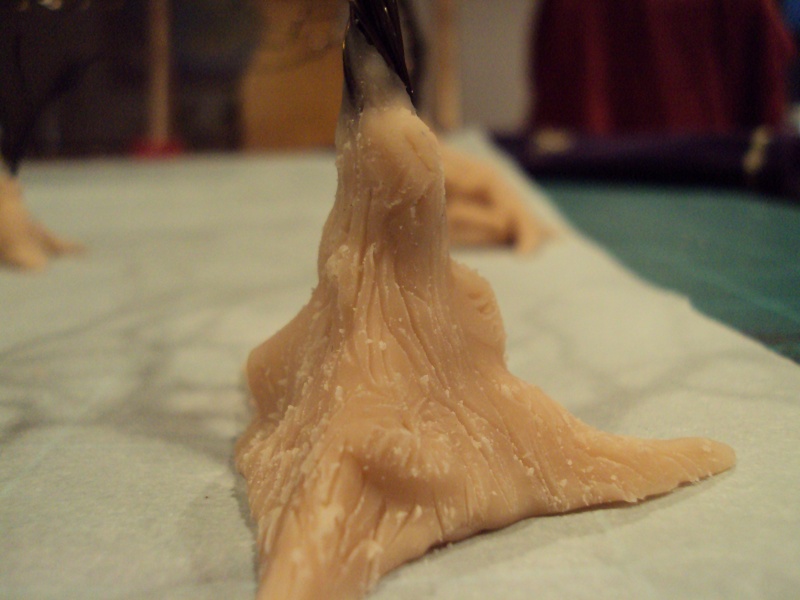
The main task is to get a good root structure. These trees will be free-standing if you do it right, so make sure to space them nice and broad, like a hand gripping the ground. To add extra roots, just make a small Sculpey-worm and blend it into the main trunk.
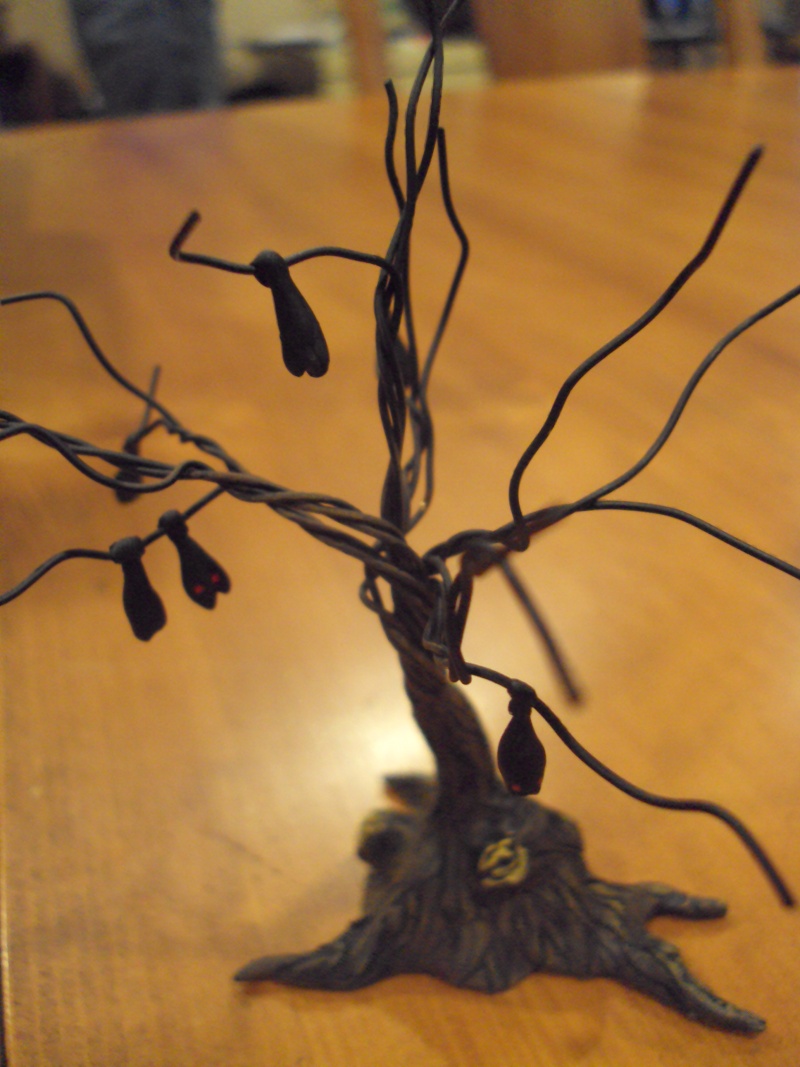
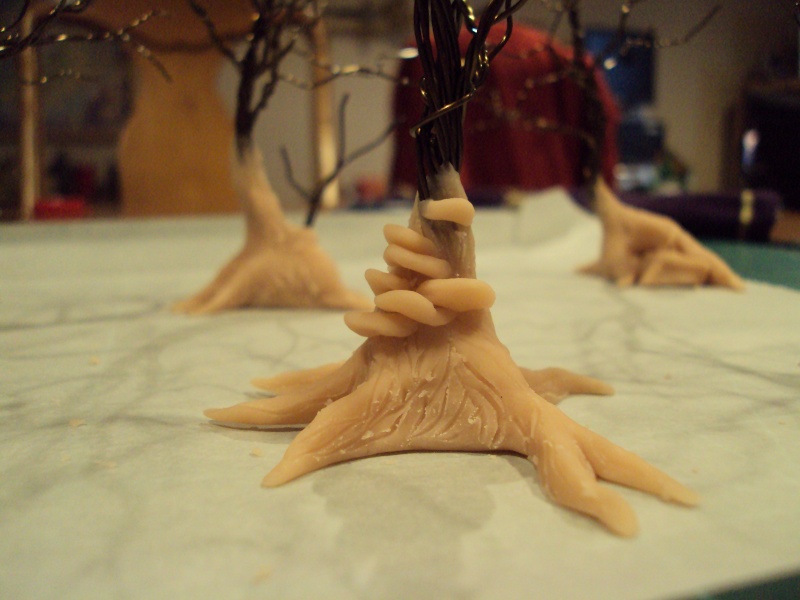
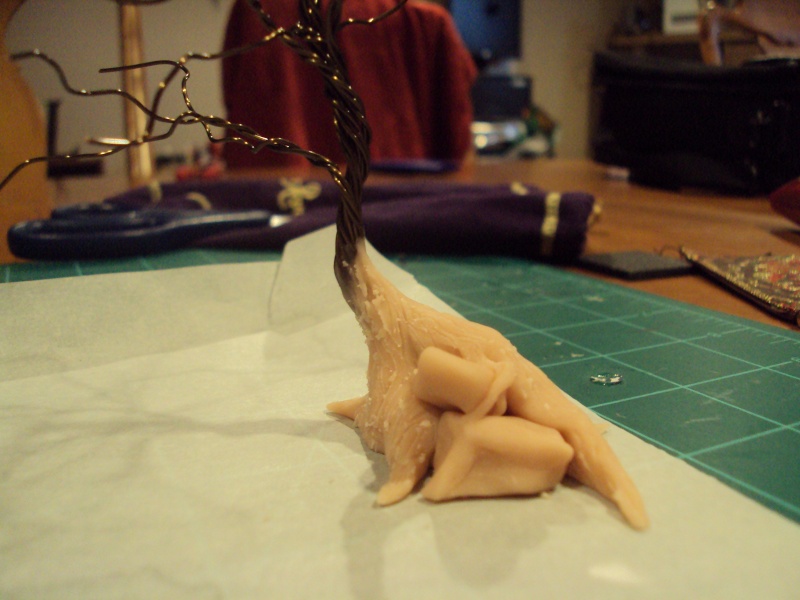
Next you should add knots, fungus, and stumps to your base. For knots, just make a small Sculpey-doughnut, stick it to the tree, and blend away. Fungus is easy to model. Whether you're making toadstools or buboes, it's a pretty straightforward process. Check the pics for ideas. For stumps, you'll make a cylinder coming out of the root structure. Easy.
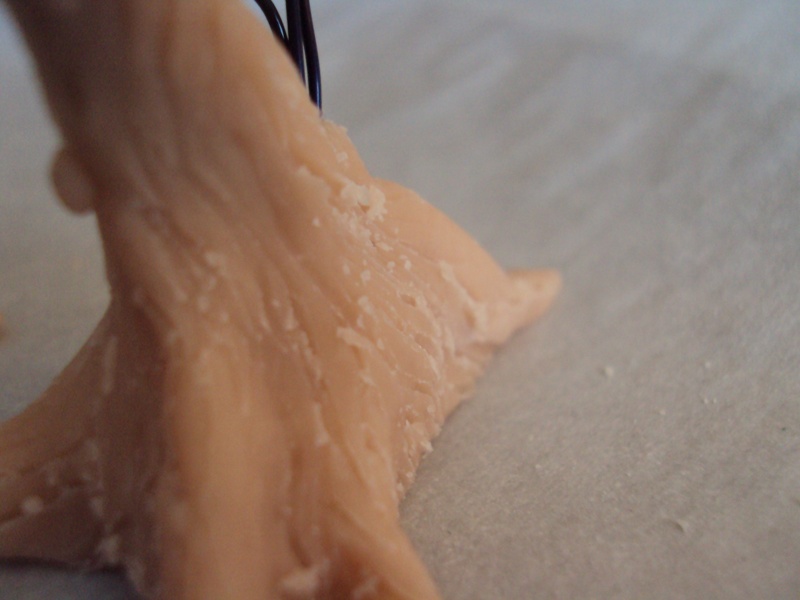
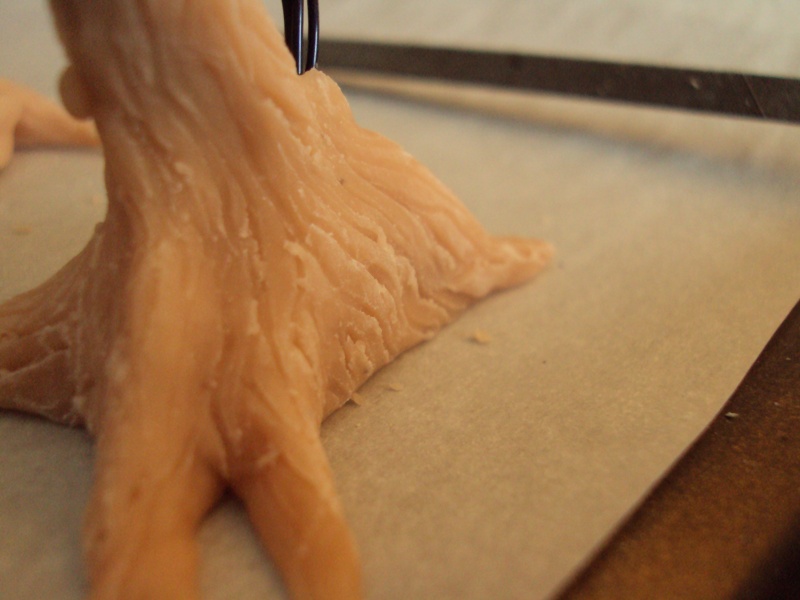
For the last part of your sculpting process, take a short length of wire and "draw" your bark. Remember to make forking paths rather than long, straight lines. You'll achieve a more realistic look. If you modeled stumps, you'll use the wire to carve a spiral, creating a nice ring effect.


If you're happy with your sculpting, it's time to bake. Sculpey will do fine in any oven.Just grab your baking tray and baking paper and throw your trees in the oven for eight hours. Cook on low - about 200° F.
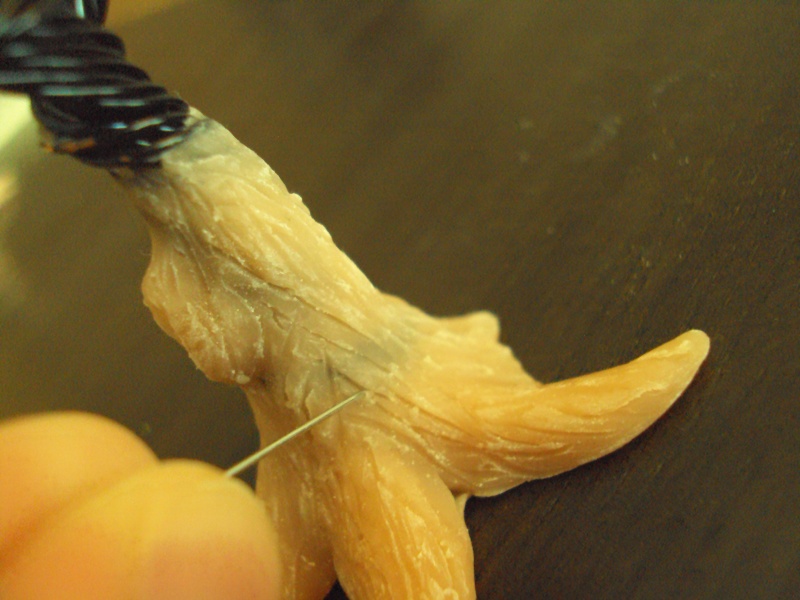
When your trees are hard as a rock, it's time to sand them down. I used fine-grain sandpaper, but a file should work just as well. You may also want to use a straight-pin to dig any stray Sculpey bits out of the cracks and crevices.
That done, base-coat your creations in black and get to painting. I wanted a nice sinister look, so I kept the smaller branches black. Add some bright highlights to your fungus, paint eyes on any bats, and you're good to go.